Getting the Perfect Crust on Cast Iron Skillet Searing

Imagine standing over a hot stove, watching a piece of steak or a thick slice of salmon. You expect that deep, dark, caramelized exterior—the kind that provides a satisfying crunch—but instead, you get a grey, limp, and steamed-looking surface. This happens when the pan temperature isn't high enough or the moisture levels are out of control. Achieving a proper sear isn't just about heat; it's about managing the interaction between metal, fat, and protein to create a crust that holds its flavor.
A successful sear requires three specific elements: high thermal mass, a high smoke point fat, and dry protein. If any of these are missing, you'll end up with a sad, boiled-looking piece of meat. This guide covers the mechanics of heat-driven browning and how to adjust your approach depending on what you're cooking.
How do I know when my pan is hot enough?
The most common mistake is adding food too early. If you drop your protein into a lukewarm pan, the temperature will plummet, and you'll spend the next ten minutes steaming the food in its own juices. To avoid this, you need to look for visual cues. When you add a small amount of oil or a tiny piece of fat, it should shimmer immediately. If you're using a bit of oil, look for the way it moves—it should ripple like water in a windstorm.
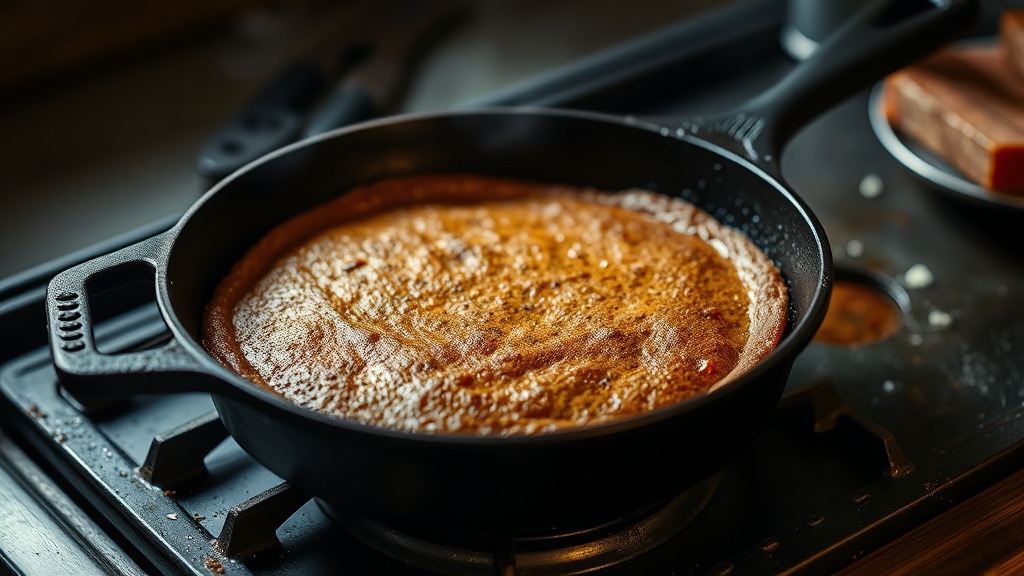
A great way to test heat without a thermometer is the "water droplet test." Flick a few drops of water into the pan; if they dance and sizzle away instantly, you're close. If they sit there and boil, you need more time. However, be careful not to go too far—you want a sear, not a fire hazard. A cast iron skillet is a heavy hitter in this regard because it holds heat better than almost any other kitchen tool (which is why it's a staple in professional kitchens).
What oil should I use for high-heat searing?
You cannot use extra virgin olive oil or butter for the initial sear. These fats have low smoke points, meaning they will burn, turn bitter, and produce acrid smoke long before your steak is done. Instead, reach for oils with high smoke points. Avocado oil is a fantastic option because it can handle heat up to 520°F (270°C). Grapeseed oil or even refined peanut oil works well too.
If you want that buttery flavor, don't start with it. Start with your high-heat oil, get the crust formed, and then add a knob of butter during the last two minutes of cooking—a technique often called "basting." This adds richness without the risk of burning the milk solids too early. For more information on how different fats behave under heat, you can check out the technical data on King Arthur Baking, which often discusses ingredient properties.
Can I sear meat if it's still cold from the fridge?
There's a long-standing debate about "tempering" meat—letting it sit on the counter to reach room temperature. While it sounds logical, the reality is more nuanced. The goal of tempering isn't just to warm the center; it's to ensure the outside doesn't burn while the inside remains raw. If you're searing a very thick cut, letting it sit out for 30 minutes can help, but the real secret is drying the surface.
Moisture is the enemy of a crust. Even if the meat is at room temperature, if the surface is wet, that energy will go toward evaporating the water rather than browning the protein. Always pat your protein dry with paper towels before it touches the pan. A dry surface leads to the Maillard reaction—the chemical reaction between amino acids and reducing sugars that gives browned food its distinctive flavor. For a deep dive into the chemistry of cooking, the resources at Serious Eats offer incredible breakdowns of these processes.
When you're working with a cast iron skillet, remember that the pan's weight is your friend. The more heat it holds, the less the temperature drops when you add the food. This consistency is what separates a home cook from someone who truly understands heat management. Don't be afraid of the smoke; a little bit of smoke is a sign that you're actually cooking at the right intensity. Just ensure your kitchen is well-ventilated.
- Step 1: Pat the protein extremely dry with paper towels.
- Step 2: Heat the skillet until the oil is shimmering and slightly smoking.
- Step 3:
Lay the protein away from you to avoid hot oil splashes.- Step 4: Leave it alone. Resist the urge to flip it constantly. Let the crust form.
- Step 5: Add aromatics or butter only in the final stage of cooking.
A well-executed sear changes the entire profile of a meal. It provides texture, a visual appeal that makes food look professional, and a depth of flavor that you simply can't get from boiling or steaming. Once you master the relationship between your skillet and your heat source, you'll never go back to a standard non-stick pan for your proteins.